
Making your own shirt - everything you need to know!
- Ali Morris

- Jun 1
- 5 min read

So have you decided to make a shirt – but have no idea where to start?
Keep reading and hopefully you’ll find all the information you need.
I think you’ve got 3 main options:
Buy a commercial pattern, and either use it as it is or do some styling / fit adjustments.
Clone a shirt you already have, use it as a template to make your own shirt pattern.
Make your own pattern completely from scratch, using a well fitting self-drafted block.
Whichever option you go for, you’ll end up with a great shirt if you take your time with the fitting, and really think about the details and proportions.
So what are the things you need to think about before you start?
What general fit do you want? Fitted, loose, baggy?
What fabric are you going for? Formal or casual, heavy or fine?
What style collar do you want?
Will it have long or short sleeves?
Do you want shirt tails or a straight hem?
What cuff and sleeve placket design do you want?
How about the centre front placket?
Do you want a basic yoke shape or something different?
What kind of seams will you use?
What buttons will you use?
Do you want a chest pocket?
And how about any other little details on the inside?

My 3 recent YouTube tutorials go through everything you need, whether you’re a complete novice, or you just want to sew something a bit more detailed next time.
The first of the series shows you how to make a basic shirt pattern from a block.
The second shows you everything you need to be able to sew a basic shirt
Finally the third shows you placket, cuff and seam details to add something a little extra to your custom made shirt.
The photo’s I’m using here are all from these three tutorials.

So if you’re buying a pattern you won’t need to follow the pattern video completely, but it might give you a few idea’s of how you can change the pattern to be exactly how you want it, and make sure it fits perfectly.
You really want to get the fit perfect before cutting your fabric for something like this, as there’s quite a few different pieces to consider.

You can fit along the way to a point, but you need to know your sleeve length and cuff is right. The yoke depth too, and most importantly the neck opening, if it’s not right then the collar won’t be right either, and you really don’t want to be having to make a new collar half way through sewing up your shirt.
If you’re cloning a pattern I’d still watch the pattern video, as you can work your way through it, taking measurements from your existing shirt in place of using the body measurements, or tracing a block.
But lets concentrate on option 3, making it all from scratch:
The (first) 'pattern making' video will go through everything from block to shirt pattern for a classic / basic long sleeved shirt.
You can use any block for this, it doesn’t need to be from one of my block drafting tutorials, and it can be any fit, just make sure the neck opening is correct for the collar before you make the pattern for that.
When drawing the basic body shape from your traced block you can decide on the length, shape of the hem, and if you want any extra ease.

Then once you’ve got the body and sleeve drawn up, you can add the centre front placket and the yoke and back pleat detail.

The next thing you need to do is the collar and stand, and finally you need a sleeve placket and cuff. The cuff is pretty simple, it’s generally a rectangle, but the sleeve placket is more tricky, and that’s why I’ve made a free to download template, you can download it here. Don’t worry – it’s actually really easy to sew and I’ll show you how in the second video.

So in the (second) 'sewing a shirt' video you’ll start with your pattern, just make sure you think about the types of seams and finishes you want before cutting out. If you’re using French seams, or a concealed placket for example, you’ll need to think about this now.

You’ll also need to think about interfacing, I’m not a fan of the iron on type, so I generally just use lightweight cotton to add weight where I want it. I always use it on the collar and cuffs, and you can also use it on the front and sleeve plackets, it just comes down to how you want your shirt to look, and what kind of fabric you’re using.
So now you need to sew it up.
You don’t have to make it in the order I do, but I think this way is a logical order and you can check the fit a little bit along the way.
If you’re fabric is prone to stretching, stay stitching the neck opening would be a good idea to prevent it from stretching when you attach the collar and stand.
Then if you’re making a fitted shirt, now is the time to sew the darts or princess seams.

Next I tend to complete the front placket.

Followed by the back yoke, and the pleat on the main back panel.

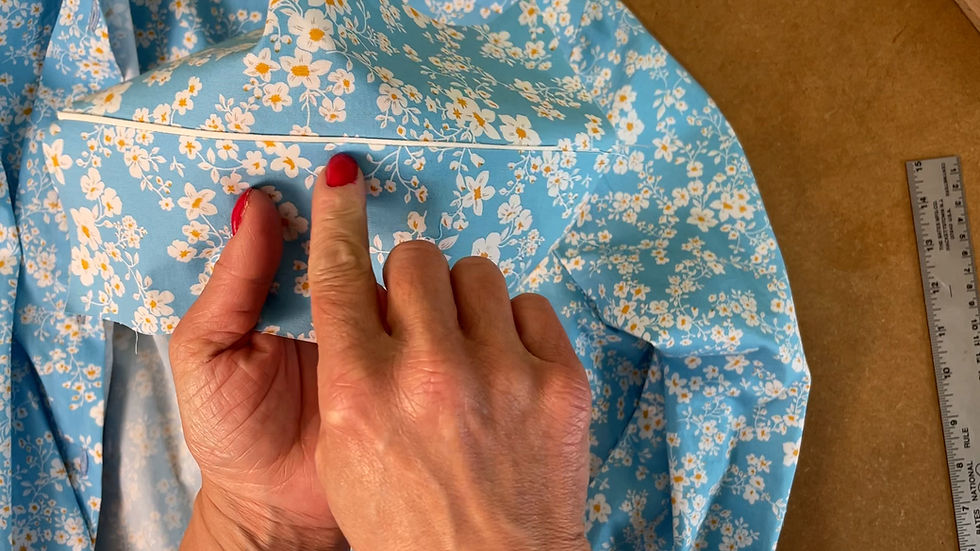
Next are the sleeves, and I like to sew the placket before joining the sleeves on to the body. The placket template can look like it will be a nightmare to sew, but I go through it step by step and you'll probably be surprised how straightforward it is.
Once the sleeves are on you can sew the body side seam and sleeve inseam all in one go. A French seam is nice here for a really clean finish.
The choice of hem you sew will depend on your fabric choice and if you’re having a straight hem or shirt tails, but whichever you’re doing, now is a good time to do it.


Now that the main part of your shirt is complete you can finish it off with the cuffs and collar, and finally of course the buttons and buttonholes.
And that's it!
The first two video’s go through the fundamentals – but of course there’s so much more you can do with a shirt, and that’s why I made a third video of the series, going through various details you might want to try.

French seams are a great way to get a neat finish if you don’t have an overlocker, they also make it more durable for a long lasting shirt.
A piped seam also looks great for a little contrast detail.

But the real places you can add a personal touch are the collar and cuffs. You can change the collar style to be any shape and size you like, just look at how they’ve changed throughout the decades, and how many different styles there are. Another way of adding lovely detail is to just keep the shape simple and use some contrast fabric on the inside collar stand and / or the under collar.

There are also of course details like a concealed placket for a cleaner look. I show you a few various front placket options in the video.

The place I really love a bit of detail though is on the sleeve placket, it’s in a subtle enough place to really add some detail without it being too obvious.
So there’s a lot to think about and I haven’t even talked about button down collars, and roll up sleeve tabs yet…..


Comments